I would like to start the tutorial for Mapinfo Professional on this blog by showing how to create a new Table on Mapinfo. Mapinfo uses term "Table" for its files. So, we often called Mapinfo files as Mapinfo Table. Lets start the tutorial by creating a new table.
Steps to create new Table on Mapinfo Professional
1. Open Mapinfo Professional
2. From File menu click New Table. A window will be open up. Check both Open New Browser and Open New Mapper.
2. From File menu click New Table. A window will be open up. Check both Open New Browser and Open New Mapper.

I will show you the difference between Browser and Mapper later.
3. Click Create and next we will add some fields to our new table.

Add some necessary fields to the new table. Don't forget to specify the Type and Width of each fields.
4. Click Projection to choose the projection for our new Table
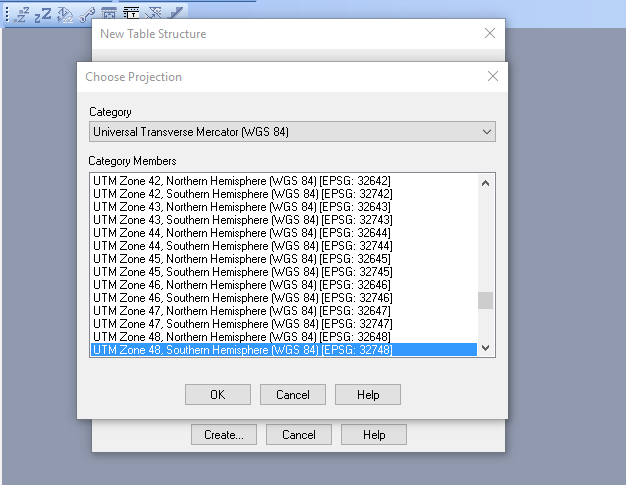
5. Select the projection and press OK.
6. Now press Create and specify the directory to save the new Table. After you save the Table, Mapinfo will automatically load or open the new Table. You will see two window opened for you.
6. Now press Create and specify the directory to save the new Table. After you save the Table, Mapinfo will automatically load or open the new Table. You will see two window opened for you.

You may watch the following GIF image to see how to create new Mapinfo Table.

Thank you.
EmoticonEmoticon